CICLOVATION BAR TAPE PREMIUM LEATHER TOUCH CHAMELEON AMBER GREEN
Premium Leather Touch - Chameleon
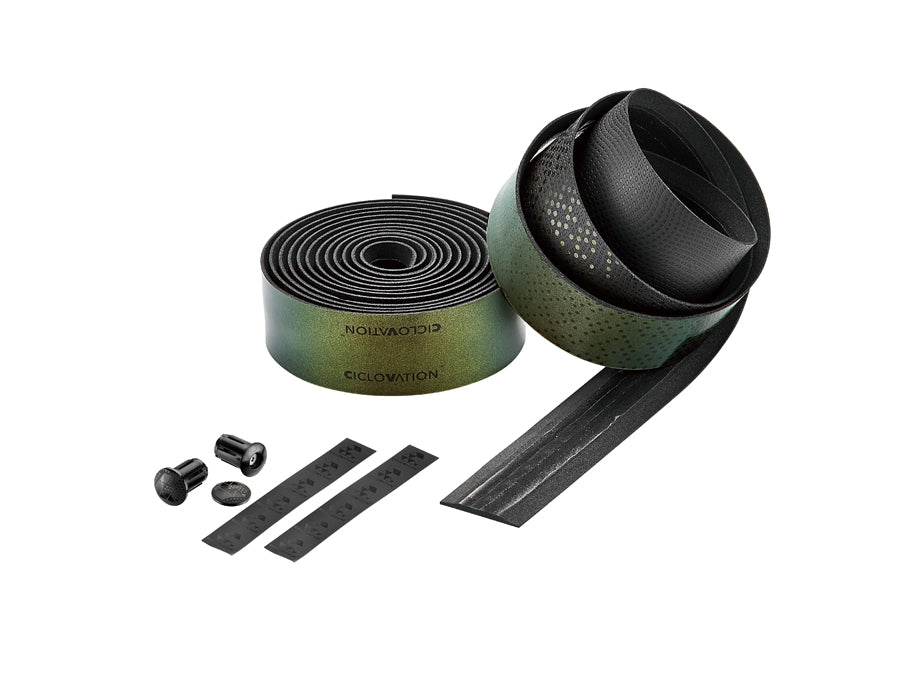
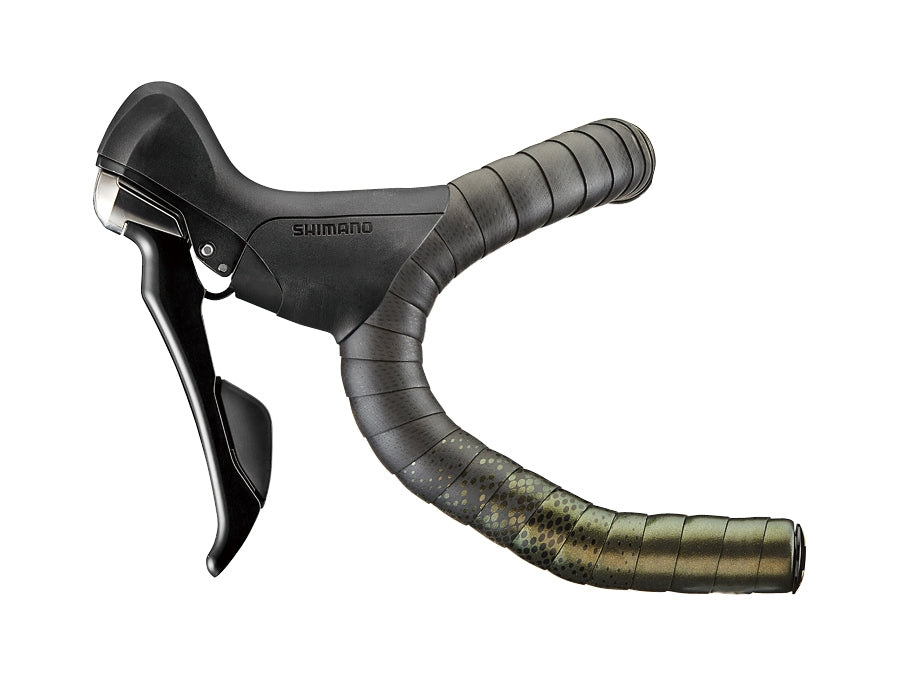
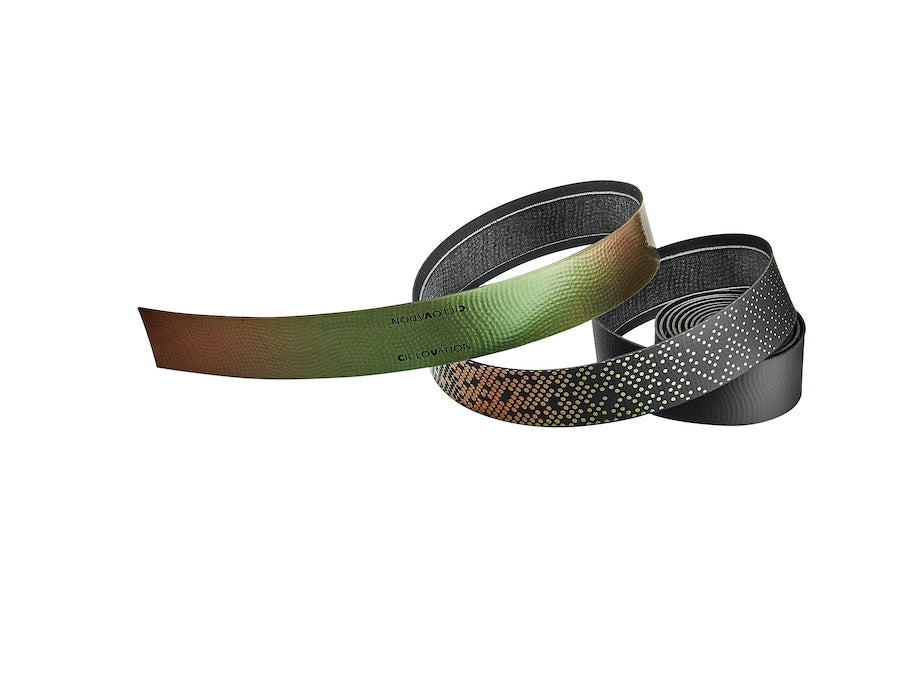
- Uniquely formulated synthetic leather with Chameleon series colorway on the iridescent textures of the drops blend into the sleek, satin black, leather-like finish of the tops for a look that exudes speed and character and for superb grip and handling performance
- Multi-layer, multi-density foam improves shock absorption while dampening vibration to effectively minimize fatigue
- Highly elastic and lightweight organic adhesive will not leave residue on the handlebars to ease installation and adjustment
- Reusable, expanding locking bar plugs are reliable and resistance to falling out
- Highly elastic finishing tape does not deform, degrade or soften in extreme temperature and weather conditions
SPECIFICATION

INSTRUCTIONS
If you're keen to install your bar tape, head to Chainsmith Tips and read how to wrap by our head mechanic Ben Blackshaw here.
Not keen on the DIY option? You can also book your bar tape for a wrap with the Chainsmith team. Either add it to your bike service booking below or contact us to book a professional bar wrap.
Otherwise, the instructions for ciclovation tape wrap are below.
-
Remove any existing handlebar wrap or tape and clean handlebars thoroughly before installing CICLOVATION™ Handlebar Tape.
-
Beginning at the bar end, wrap the tape around the handlebar one complete turn around. It is suggested to wrap the right side handlebar clockwise and the left side counter-clockwise from the rider's perspective. While maintaining tension, continue coiling the tape toward the center of the handlebars with each successive wrap overlapping the previous one by approximately half the width of the tape.
-
At the bulge in the center of the handlbars, cut the handlebar tape at an angle to finish and use the adhesive strips provided or electrical tape to secure into place.
-
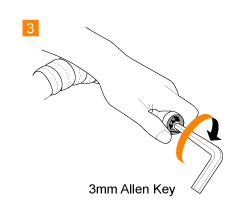
Screw in the plug in position and repeat the process on the other end of the handlebar.
