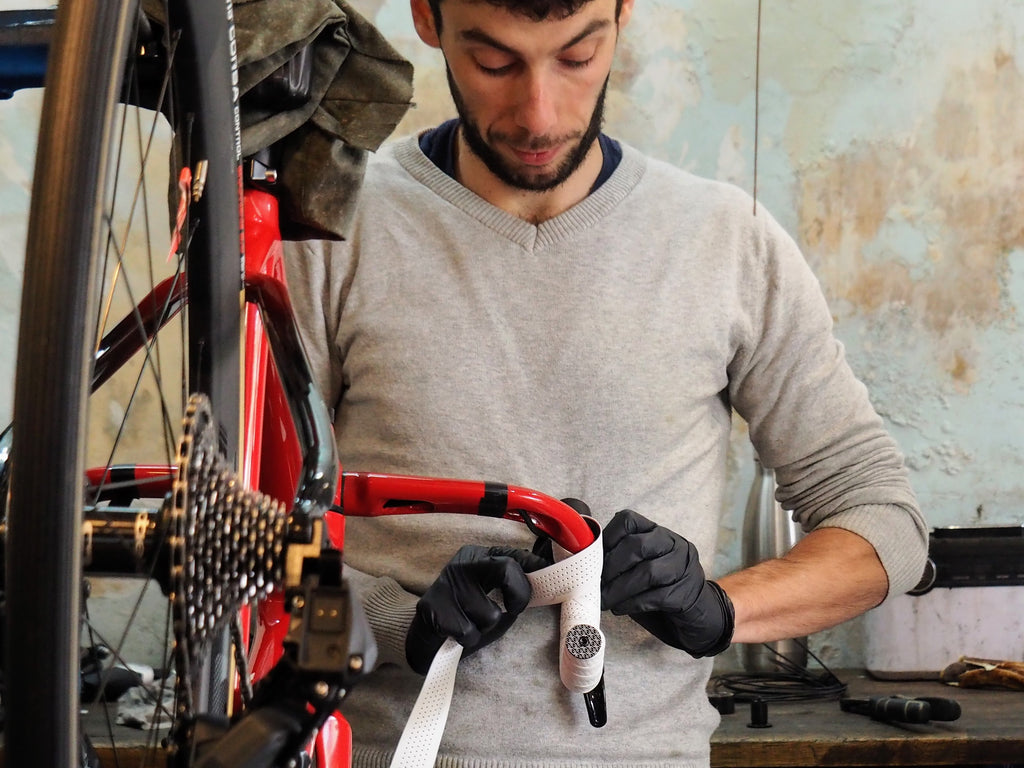
They say bar tape wrapping is an art. But we’d argue you don’t want to be creative if you’re looking to DIY your newly purchased tape. In fact if you’re wanting to achieve tape that looks and feels good, and which lasts the test of time, following rules is definitely the favoured approach.

Our mechanics wrap bar tape everyday. And they’ll wrap in the same way day in and day out. We have favourite bar tape, and there is bar tape we detest. Our top choices are based on the quality of the tape. This includes how it feels on the bike as well as how maliable it is to install. The best tapes provide a good density as well as the stretch and strength, rather than the aesthetic preferences. As with all our products, we only stock what we love to use ourselves. So if in doubt, feel free to ask why we choose to hold certain brands and which would be the best for your ride.

Not only is our head mechanic Ben incredibly skilled, he loves when things are done properly. When it comes to bar tape Ben is well versed in the perfect art and the following the strict rules of wrapping.
We see some interesting results when DIY wrapped bar tape comes to the workshop. It's often noted by sections of bunching, movement of the tape, or unravelling. We want to give you the five pointers we use in the workshop to keep your bar tape tidy, comfortable and to last.

Benjamin Blackshaw: Top 5 tips for wrapping your bars
1. Pick good quality tape with good thickness for your comfort needs, but enough stretch for your first time wrap. The Burgh Tape wraps really well and has a good amount of stretch, durability and all weather grip.
2. Start from the drops and begin wrapping external to internal. Eg from the right drop you'll be wrapping counter clockwise. Work your way up. You'll be replicating the natural twist of your grip as you're riding.
3. If you have cables, tuck them under and position them neatly where the joints of your fingers would rest. Most modern bars have at least a groove that runs underneath the tops for the cables to follow. Also, ensure the housings are cut to the correct length. Ill-routed cables, or housings too short or too long, will pull on the taped finished end.

4. You don't need to use all the wrap. You can cut the tape where you feel it needs to end rather than making sure you get your moneys worth and use the entire roll. Keep the bars neat and minimal. Most manufacturers supply more bar tape than required to allow you to trim neatly at the finishing point. Its not a compression bandage and you're not wrapping a sprained ankle.
5. When wrapping apply even pressure with a half overlap throughout the entire wrap process. Any loose sections, or those without adequate overlap are likely to slip or unravel.
You can add extra protection when needs by inserting gel under the bar tape
Lastly, for extra security, finish with a good quality bar end. They tend to have an expandable inner that tightens as you use an allen key to position them. Many good quality bar tapes like Burgh or Ciclovation will have an expanding system bar end.
There's a knack to a good bar wrap and if you don't have the confidence, the time, or the personality to care, then it may be a better option to book your bike in so we can take care of it.


